Whether you’re aiming for a natural daytime look or a dramatic evening appearance, mastering the application of blush, bronzer, and highlighter is essential to facial contouring with makeup. These three magical products have the ability to accentuate your best features, adding warmth, dimension, and a radiant glow to your complexion. In this article, we will guide you through each step, ensuring you can apply these key makeup components with confidence and finesse. You’ll learn how to choose the right shades, where and how to apply them, and how to combine them for a cohesive and flawless result.
Tools You’ll Need for Perfect Application
Before diving into techniques, it’s important to equip yourself with the right tools. The proper brushes can mean the difference between a perfectly sculpted face and a makeup mishap. Generally, you will need an angled brush for bronzer, a fluffy brush for blush, and a fan or tapered brush for highlighter. However, if brushes aren’t your style, we’ll discuss suitable alternatives like beauty sponges or even your trusty fingertips for a more controlled and natural application.
Preparing Your Canvas: Starting with the Right Base

Preparation is key for any work of art, including your makeup. Taking care of your skin through a proper skincare routine and applying a primer will create a smooth surface for makeup application. Selecting a foundation and concealer that complement your skin tone and type creates the perfect base, allowing your blush, bronzer, and highlighter to blend seamlessly and stand out in all the right ways.
Step-by-Step Guide to Applying Blush Like a Pro
Blush brings life and a hint of color to the face, mimicking a natural flush. The key to perfect blush application lies in selecting the right shade for your skin tone and understanding your face shape. Below is a numbered list detailing each step:
- Identify your skin tone: Paler skins should opt for lighter pinks, while deeper skins can carry richer tones like warm oranges or tawny browns.
- Understand your face shape: Oval faces can handle blush along the cheekbones, round faces benefit from a blush slightly above the cheekbones to elongate, and so on.
- Apply with a light hand: Start with just a touch of color and build gradually to avoid overdoing it.
- Blend, blend, blend: The most natural-looking blush is seamless, without any harsh lines.
Bronzer Basics: Sculpting and Defining Your Features
The bronzer not only adds warmth but also contours and defines your features. But how do you ensure that it looks like a natural shadow rather than a streak of mud? Follow these numbered steps to master the art of bronzer application:
- Choose the right shade: It should only be 1-2 shades darker than your natural skin tone.
- Master the touch: Gentle, buildable applications are key. It’s easier to add bronzer than to subtract it.
- Know where to apply: Follow the natural shadows of your face’s framework—the parameter of your forehead, beneath cheekbones, and along the jawline.
How to Highlight Your Best Features with Highlighter
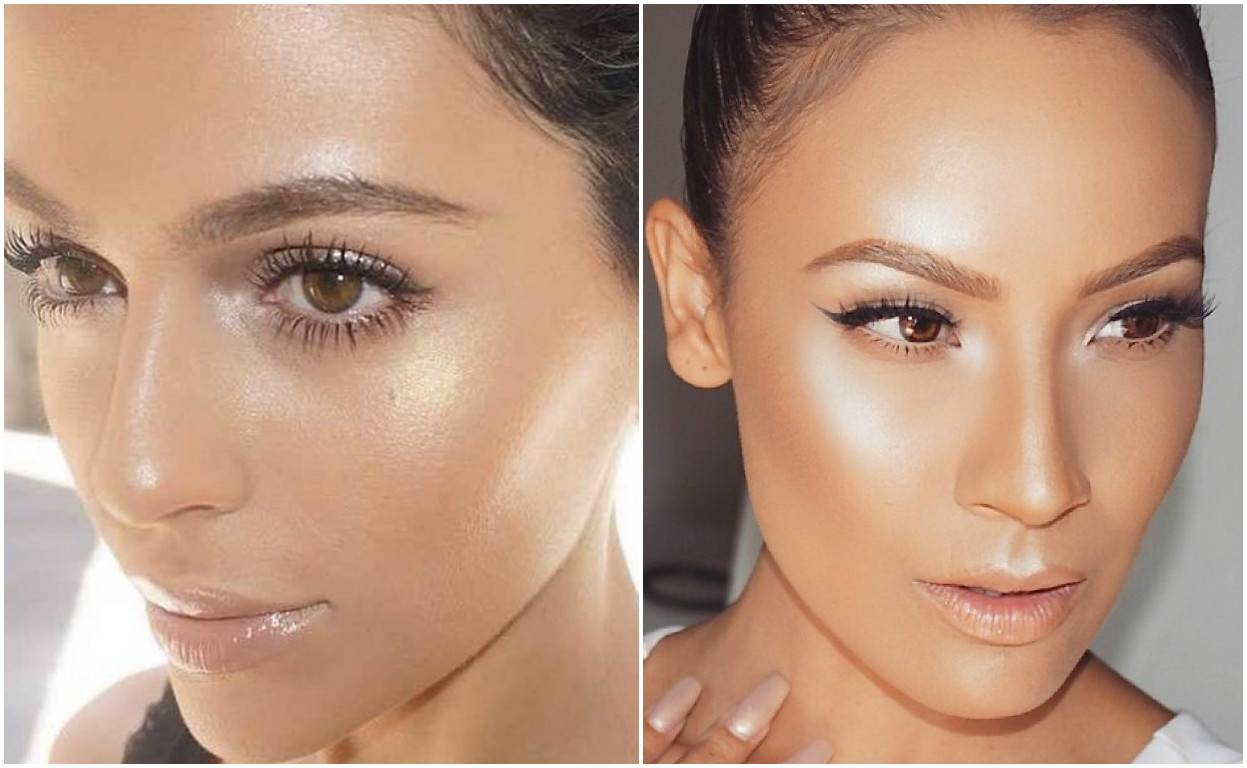
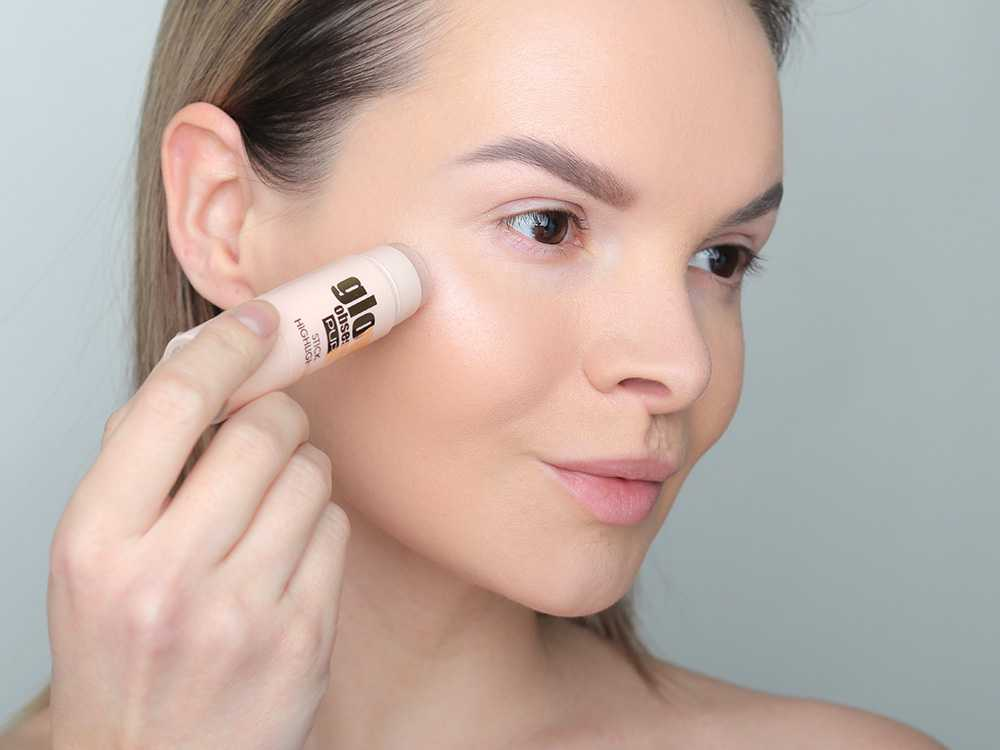
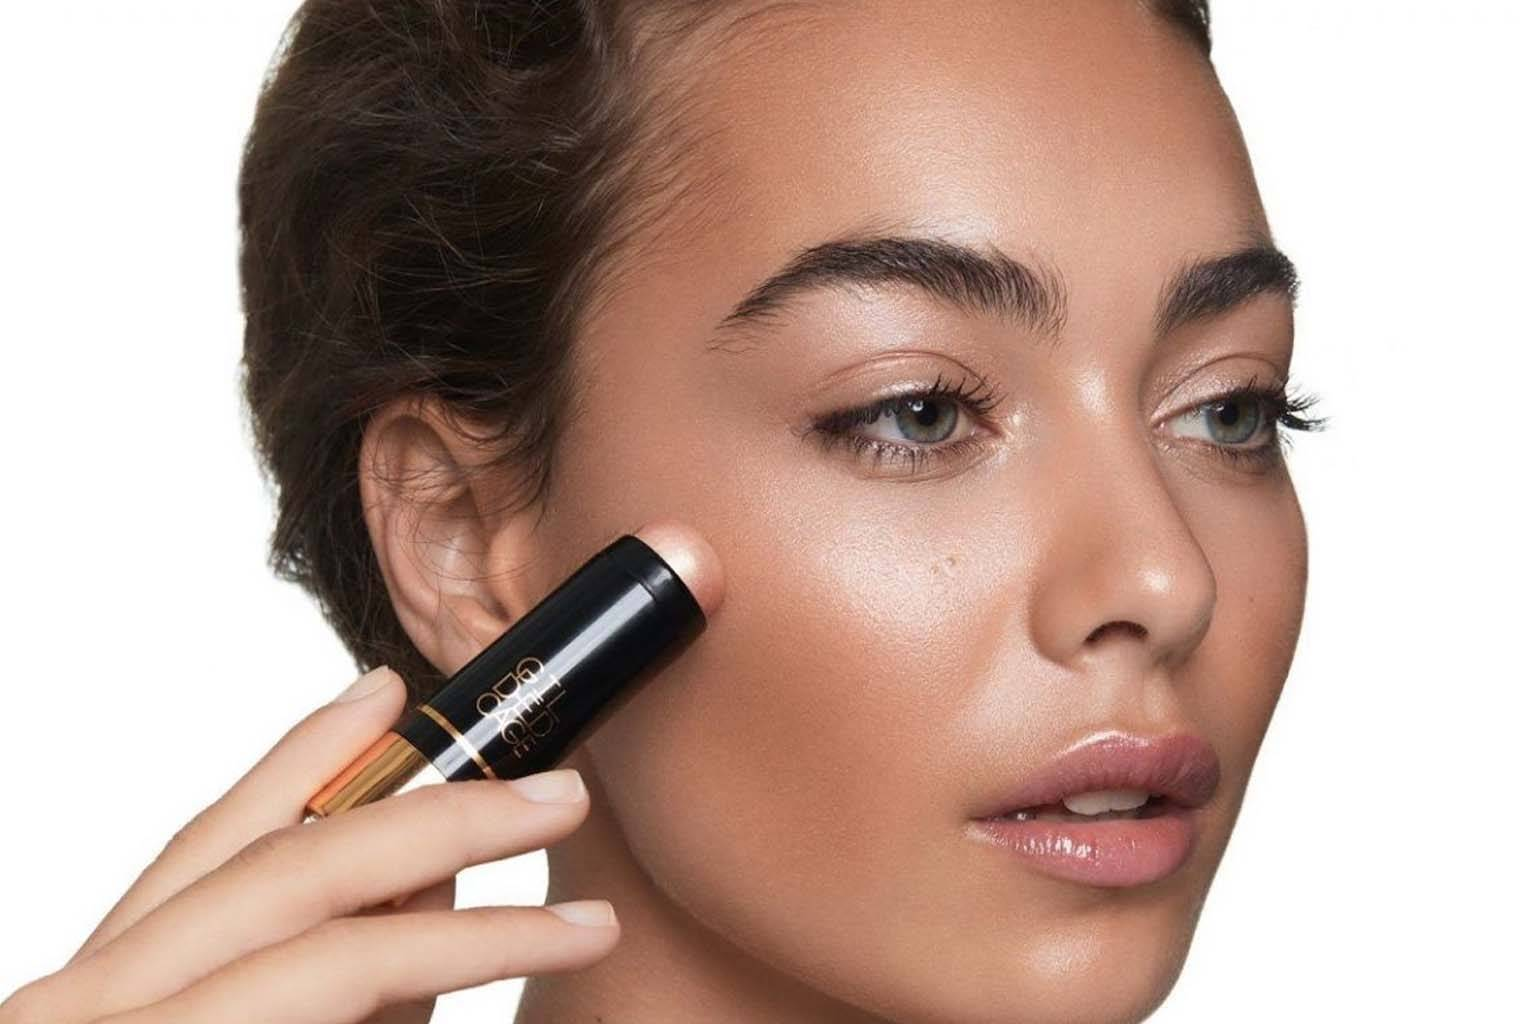
Highlighter can bring dimension and light to the face, creating that sought-after glow. When done right, it can make your skin look radiant and youthful. Let’s delve into the specifics:
- Select a highlighter that suits your skin’s needs, from liquid, cream, to powder form.
- Understand the areas to accentuate, like the high points of the face where light would naturally reflect.
- Blend the edges for a smooth transition that enhances rather than competes with your complexion.
Blush, Bronzer, and Highlighter: Common Mistakes to Avoid

Navigating the pitfalls of blush, bronzer, and highlighter application can be just as important as mastering the techniques. Overapplication, using the wrong formula for your skin, and choosing inappropriate shades can all disrupt your look. Avoid these common mistakes by following the guidelines below and remember practice makes perfect.
Advanced Tips for a Long-Lasting and Natural Finish
Ensuring your handiwork stays put throughout the day involves a few extra steps. Setting your makeup with a translucent powder can help lock in color, while using a setting spray adds longevity and refreshes the makeup, giving you a just-applied look all day long.
Conclusion
In conclusion, the art of applying blush, bronzer, and highlighter is one that can be easily mastered with practice and precision. Remember to choose the right shades for your skin tone, blend well, and avoid the common pitfalls. With these tips in mind, you’ll be well on your way to creating a sculpted and radiant look that accentuates your natural beauty.
Frequently Asked Questions (FAQs)
Can I use blush, bronzer, and highlighter all at once?
Absolutely! When applied correctly, they can work together to enhance your facial features and give your complexion a beautiful, balanced look.
Where exactly should I apply highlighter for the best results?
Highlighter should be applied to areas where light naturally hits your face, such as the cheekbones, bridge of the nose, brow bones, and cupid’s bow.
How do I choose the right shade of bronzer for my skin tone?
Pick a bronzer 1-2 shades darker than your skin tone with the right undertone (warm or cool) to naturally enhance your complexion.
What if I apply too much blush or bronzer?
You can use a clean brush or a bit of translucent powder to blend and diffuse the color until you reach the desired intensity.
What are the differences between matte and shimmery highlighters?
Matte highlighters give a more subtle, natural glow, while shimmery highlighters are more dramatic and reflect light for a pronounced shine. Use matte for daytime or subtle looks, and shimmer for evenings or when you want extra glamour.


